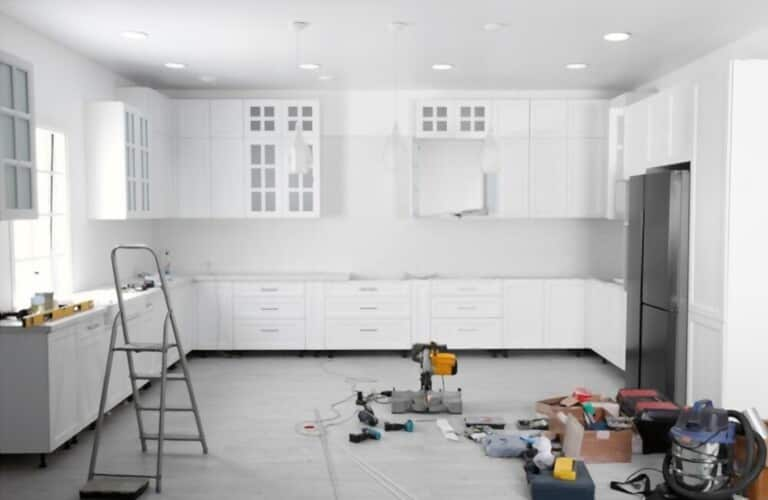
You can put the scalding-hot halogen puck light of such a past and even the practical fluorescent tube bulbs that commanded the landscape for decades to the back of your mind if you're considering installing under cabinet lighting. The alternatives available now are far more streamlined and energy-efficient than pucks, as well as being brighter and more reliable than the old lightbulbs.
Since LED lighting provides more light per watt than any other common light source, it is now used in most under cabinet lighting options. Since they can be made together into thin LED strips, tape, rope, puck, and a variety of low-profile fixtures, LEDs are also incredibly adaptable. Although a hardwired system that is operated by a wall switch can be installed for undercabinet lighting, most do-it-yourselfers opt for an incredibly simple plug-in system.
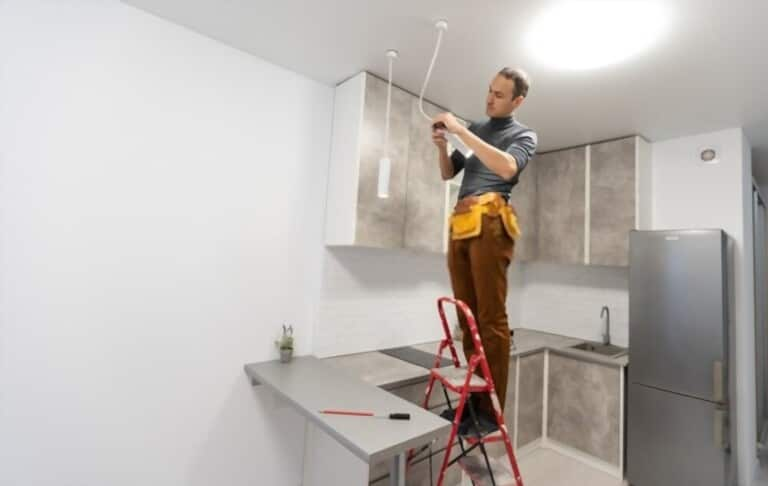
This manual demonstrates the quick and simple DIY techniques on how to install under cabinet lighting hardwired.

How To Install Under Cabinet Lighting Hardwired
1. Draw the new electrical pack's outline
A main electrical switch should be used to turn off the kitchen's power. Plug a stereo into the counter wall socket you'll be using for power, and ensure it is switched off to make sure the electricity is off. Alternately, you might use a lamp—just make sure it isn't lit. Remove the receptacle from electrical box by first unscrewing the wall plate, at which point you can cut the wires from it.
On one or the other side, the box is fastened to a wall post with nails. Peek between the box's sides and the drywall to determine which. Hold a two former electrical box over a pre-existing box inside this wall so that the hole's enlargement is on the side of the box that isn't attached to it, away first from the stud, and then lightly pencil-trace around it.
2. Take out the old electrical box
Keep in mind the cable entering the exhaust vent is loose after widening the hole, then pull it out with a flat push bar.
3. Run a fresh cable length
Find the prescored termination hole in the rear while holding the fixtures in place. Make a mark on the wall directly behind this "knockout" bulb. Determine whether there is a wall foundation between the mark and the electrical box hole, use a stud finder. If so, switch your marker to the opposite stud side. Drill through the wall right below the tile backsplash cabinet using a 12 inches spade bit.
Cut a 12-inch stretch of 12/2 nm (nonmetallic) cables, plus an additional 24 inches, to extend from the 1-inch hole to the 2-gang box hole. Insert a cable end into the 1 1/2-inch hole that has been bored in the top subway tile backsplash. The cable end should then be gently pulled through the kitchen into the holes in which the electrical panel will be put.
4. Set up the light source
To create space for working, take off the lamp's cover and the steel socket section that holds the bulbs. Holding the fixture against the cabinet's underside, move it forward until it is concealed by the front edge of the cabinet.
Make use of the supplied screws to attach it to the cabinet. To remove the circular knockout connector from the back of the light fixture, use a slotted screw.
5. Place the cable connection
To keep the cable in position and shield it against the fixture's pointed edges, insert a cable connection into the knockout hole. From the cable's terminus, remove 6 inches of an external layer sheathing. Cable should be fed via connection.
To keep the cable in place, tighten the connector screws. Make that the cable's plastic wrapping, not the individual wires, are clamped down by the connector.

6. Set up the fresh electrical box
Hold the simple new electrical panel close to the backsplash wall's hole that you drilled. Put the remaining end of the wire that was connected to the outlet—into the two-gang box. Next, insert the box while pulling the cable's end from the light fixture. After that, insert the box into the opening and firmly press it against the wall.
Two screws can be seen on the box, one in each horizontal corner. The box's plastic flippers should flip up beneath the walls as you start to tighten the screws. When you feel those fins pulling tightly against the back of the drywall and locking the box in position, keep tightening the screws.
- Tip: Test the 2 different boxes to see if the fins start appearing before sliding it into the wall.
7. Place a GFCI outlet
Use a green ponytail connector to join the bare metal grounding wires first from old and new cables. Cut two 8-inch-long segments of the white wire that were detached from the remaining cable. Remove the insulation from their ends by half an inch, then use a wire connector to connect them to the two white cables in the box.
Attach the opposite end of a single 8-inch white wire to the "white-wire line"-designated silver GFCI screw connector. Cut two black wires that are 8 inches long, remove the insulation on them by half an inch, and connect these to the black wire that is part of the current (receptacle) cable. Attach one of these wires' free ends to the "hotline number" GFCI connector.
Leave at least 3 - 4 inches of cable protruding beyond the green connecting bolt on the GFCI as you wrap the ponytail around this one. The leftover wire you purchased should have its plastic sheathing removed. After separating the white wire, cut two 8-inch-long sections. With wire strippers, remove 1/2 inch of insulation from the ends of each wire, then use a wire connector to connect them to the two white wires inside the box.
- Tip: Before tightening on wire connectors, use lineman's pliers to twist the wires together.
8. Affix the new dimming switch
Utilizing a wire connector, join the 8-inch black cable's loose end to a black wire on the light switch. Connect the black wire leading from the freshly fitted light fixture to the yellow wire of the dimmer.
Utilizing a wire connector, join the green grounding wire of the dimmer to the copper earth wire coming from GFCI. Using a wire connector, join the last white wire to the white wire of the dimmer. After carefully tucking any extra wires within the box, fasten the GFCI and dimming switches with the supplied screws.
- Tip: Make sure that switch is made specifically for use with LED lighting if you're using LEDs.
9. Finish the wall plate and the fixture
Put the socket strip back in the fixture first, but don't place the lights in just yet. Each fixture has a white, black, and green wires within. Using wire attachments, attach them to the cables' corresponding wires that are the same color: white to white, black to black, and bare wire to green.
After the wiring is finished, add the lights to a sockets strip and put the fixture's cover on. The two - piece plate should then be screwed in. Restart the power and check your work.
Tip: Never touch a halide bulb with bare fists since your skin oils may cause harm. Additionally, it might become very hot.

Conclusion
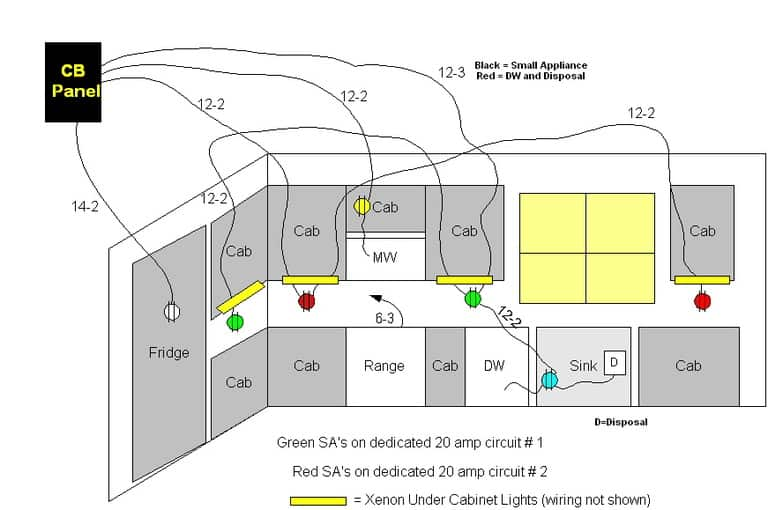
When remodeling a kitchen, first before walls are finished with drywall, is the ideal time to add wiring under cabinet lights. However, if you want to add under cabinet lights but aren't considering making any significant alterations, don't give up hope. The wiring layout we demonstrate in this article may be implemented without causing obvious wall damage and is made to operate in practically any kitchen. Furthermore, access to a cellar or attic is not even necessary because we are running wires inside the storage drawers.


