When designing or remodeling a room, you should never underestimate the importance of developing a functional lighting strategy. In addition to improving visibility and visual appeal, good lighting design will enhance your enjoyment of a space while increasing efficiency and profitability. Despite being the mainstay of commercial and retail lighting, track lighting has recently fallen out of favor in the residential market. However, this is now changing as modern track lighting systems become more common in the market.
As a result, they will become more famous. Light can be directed exactly where you want it by installing tracking light. If you know how to install track lights, you can link the individual lights into a long line that can extend down the wall or ceiling, and you can do it anywhere you want. Track lighting can be adjusted to highlight a specific location, such as a wall of art or a long hallway, and this versatility makes it a smart choice.
What is track lighting?
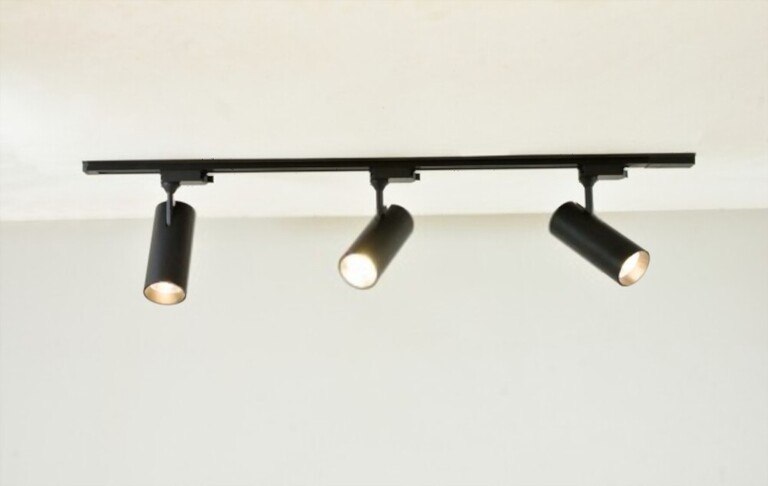
As the name suggests, the track lighting system is made up of a channel of light heads that can be added and repositioned as needed. The track lighting system is very flexible and adaptable, which is its main appeal. To change the layout of the rail system, the rails come in a variety of lengths and can be cut and bonded with the help of accessories. The illuminators are then clipped for tracking at the desired location after the line has been established. This allows for more customization and precise positioning of the lamp heads.
Many industries, including some of the following, use track lighting:
- Commercial track lighting
Commercial track lighting has previously been used in commercial establishments due to its adaptability and simplicity of use.
- Lighting industrial track
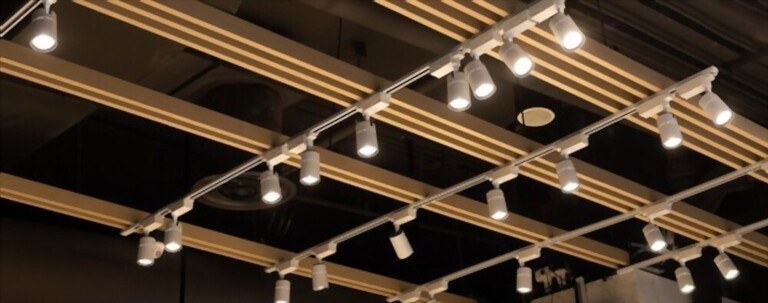
Track lighting is utilized in industrial applications to efficiently light high ceilings and important task-oriented areas because it may be positioned on the ceiling.
- Track lighting for stores
Retail track lighting is employed to highlight storefront items and improve the environment as a whole. This kind of lighting emphasizes the excellence and beauty of the goods being offered.
- Street lighting, housing
When used as task lighting in areas such as kitchens, bedrooms, and bathrooms, track lights can be installed throughout the home to highlight family artwork and antiques, bed and laundry.
How are track lights mounted?
Before starting a track lighting project, it's crucial to think about the installation technique that would work best for you. Track lights can be mounted in several ways, comprised of:
- Street lights seen from above
This is the most typical and simplest way to install track light. The rails are perpendicular to the ground and bolt to the ceiling material instantly. Do-it-yourself enthusiasts favor this method because it's easy to use and economical.
- Track Recessed Lighting
Although the track lies inside a bulkhead or ceiling opening, the installation procedure is the same as for standard ceiling track lighting. This approach calls for more preparation and accuracy but typically produces results that are more refined.
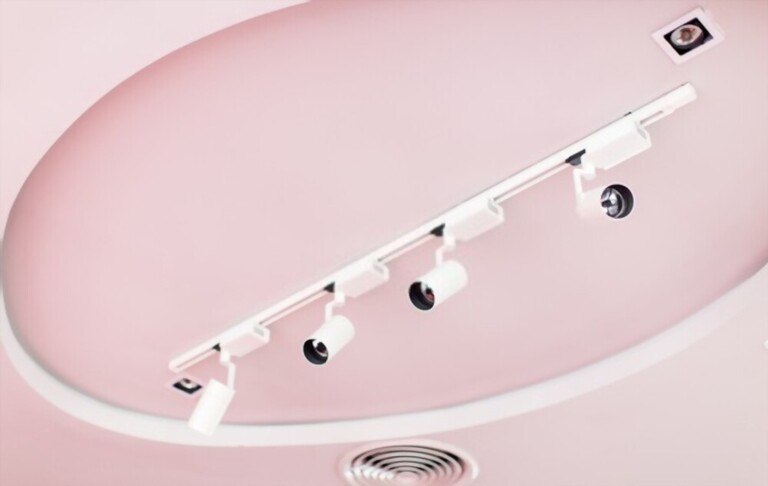
- Track lighting that is wall-mounted
As such an alternative design element, the tracks may be fastened to the wall in the same manner as a ceiling.
- Hanging and Suspended Track Lighting
This technique is employed when there is insufficient lighting due to the height of the ceiling or as a design device to add interest.
How is the track lighting installed?
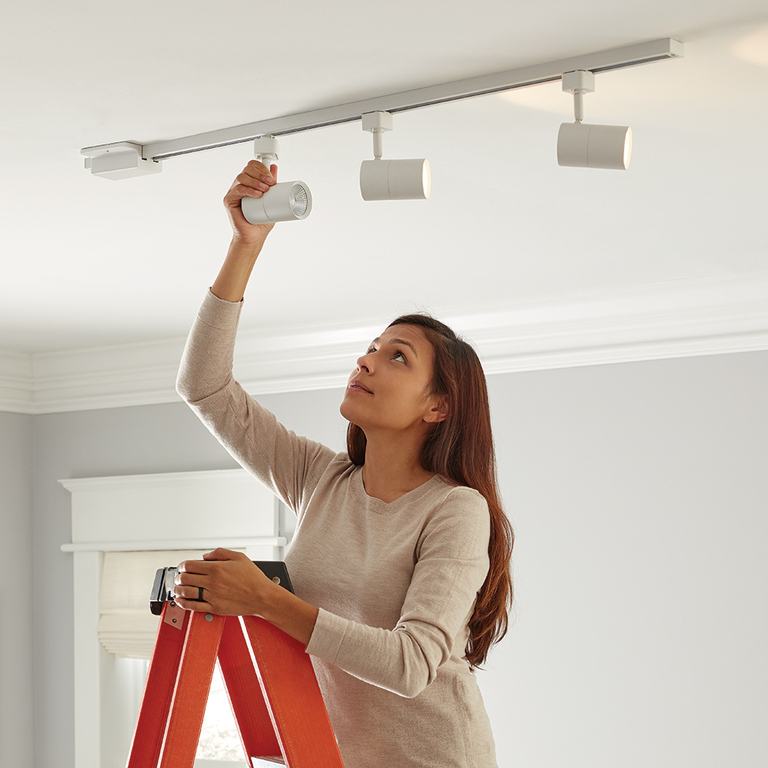
- Now that you've determined how much track, how many lighting heads, and the optimum arrangement for your room, it's time to install. Make careful to shut off the grid power just at the switchboard before you start working. Remove that switch from the wall by unscrewing it.
- Create a gap in the wall where the rail will start above the switch. Insert the non-metallic electrical wire into the switch location through the hole you just bored.
- Next, set up your components on the ground in the arrangement you plan to install in the ceiling. Before you begin installing your lighting, be sure it will function as intended to prevent having to make changes while constructing the tracks or later.
- Fill the end of a track with the cable coming from the hole so it can rest flat against the wall. When you are satisfied with the positioning, measure and mark your first section of track against the ground, making sure it is level. In order to mount the track to the ceiling with screws, mark the locations of the precut holes along the track.
- Drill holes where the bolts will go on each section of the track before re-placing it on the ground. To assist fix the track firmly, use a plastic anchor. Place screws into the track's new location on the ceiling. For each track in your project, repeat the process.
- Depending on the circumstances, you might need to switch the tracks' direction, for example if you want to arrange your lighting in a rectangular or "U" form. You must include a connector component at this place. These have numerous designs and angles.
- It's time to join the wires from the non-metallic electric wire to the track light end once you've secured every piece of track. The white and black wires must be attached to the same color wires in order to do this (so that is white with white and black with black). For the connection to be grounded, a copper wire is connected to a green wire.
- Connecting the lighting heads is necessary when this is finished. Be cautious to follow the instructions because these may change depending on the manufacturer and design. Two connector prongs are located to the side and one on the other of the light's base. There are also two comparable channels across one half and one on the other of the track, as you will see. The prongs on your light must be perpendicular to the conductors channels in the inside track in order for it to be attached. After positioning it where you want it, turn the lamp head so that the prongs are inserted into the channel.
- Repeat the process for each of your lights, then turn over the main power and flip a switch to check your lights.
Necessity of junction box for track light
Simply put a junction box must be connected to the track lights. Junction boxes not only protect the entire wiring from injury, but also protect you and your loved ones. Junction boxes are usually hidden in the ceiling.
Track light adjustment methods
To improve the desired lighting effect, you might occasionally need to change the location and direction of the light head. Always adhere to the manual's recommendations as this procedure may differ significantly between models. Moving or changing light heads is the exact reverse of adding them, though, in principle. Till the prongs emerge from the channel, turn the tip in a counterclockwise direction. Put them in the position you want, then screw them back into place. Always switch off the electricity before doing this for safety reasons.

Cost of install track lighting
The number of lights and the length of the track affect the cost of setting up a walkway lighting system. Depending on the quality of the materials and design, lights can cost hundreds or thousands of dollars.
To match the requirements of your lighting project, there are many track lighting systems available. These can include do-it-yourself kits from hardware stores, lamp retailers, and high-end lamp designers. You must conduct thorough research to get on the ideal system for your needs and budget as these variations affect both price and quality.

Conclusion
In many ceilings, a fairly simple light fixture is placed directly on top. This fixture often brings a dreamy shine to a space. Despite the fact that it makes the room functional, it doesn't really add any personal appeal, contrast or light. If your home has one of these, then the upgrade can be done in order. The adaptability of the track lights goes far beyond the available fixed devices. You can route the rail in almost any direction and mount the lampholder anywhere along the length of the ceiling (or wall) rail. You can also control fixtures so they shine only where you want them to.


