If you've got a fencing or landscaping project on the horizon, using a post hole digger can make the task much more manageable. Whether you're installing fence posts, planting trees, or setting up a new mailbox, a post hole digger is a valuable tool that simplifies the digging process. As your friendly DIY expert, I'm here to guide you through the step-by-step process of how to use a post hole digger effectively and efficiently. By following these simple instructions, you'll be digging post holes like a pro in no time!
Why Use a Post Hole Digger?
Before we jump into the how-to, let's explore the advantages of using a post hole digger:
1. Saves Time and Effort:
Using a post hole digger reduces the physical strain and effort required to dig holes manually. It allows you to dig deeper and more consistent holes in a fraction of the time.
2. Precision:
Post hole diggers create clean and precise holes, ensuring a stable and secure foundation for your fence posts or plants.
3. Versatility:
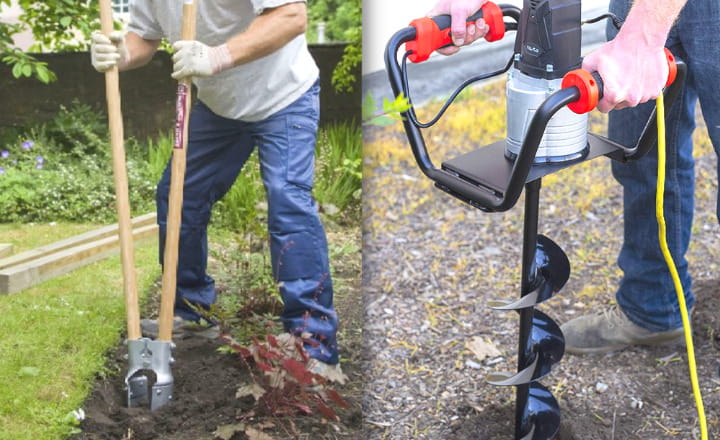
Post hole diggers can be used for various projects, such as installing fences, planting trees, setting up signposts, or even digging holes for basketball poles.
4. Professional Results:
With a post hole digger, you can achieve professional-looking results without the need for expensive equipment or professional services.
Step-by-Step Guide on How to Use a Post Hole Digger
Step 1: Gather Your Tools
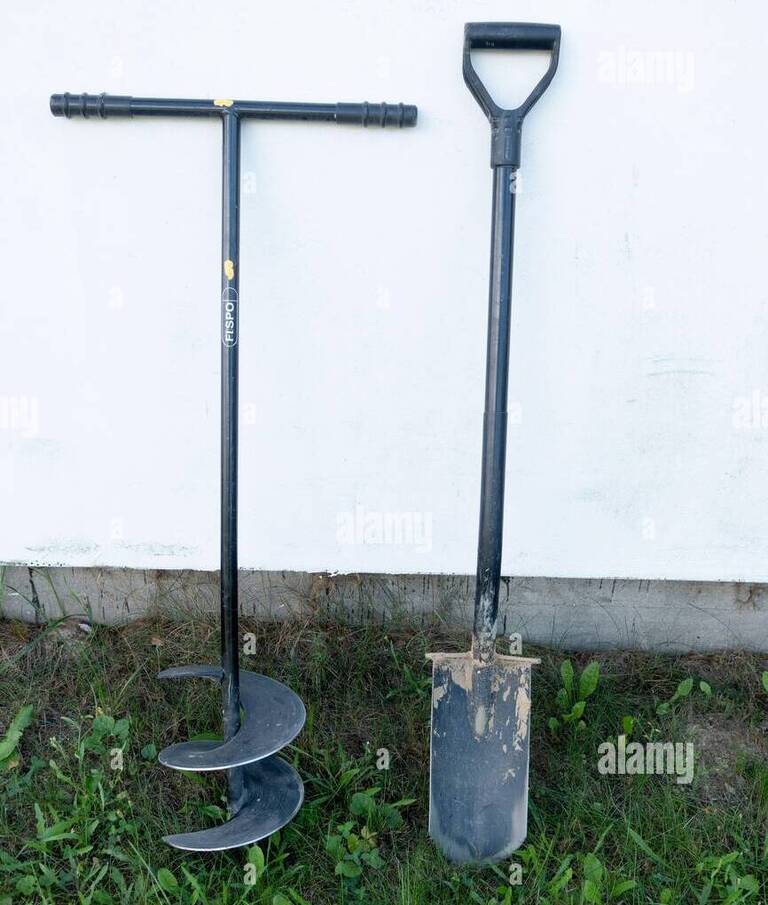
Before you begin, ensure you have all the necessary tools ready. Besides the post hole digger, you may need a tape measure, marking paint or stakes, and a shovel. Having everything on hand will save you time and prevent interruptions during the digging process.
Step 2: Mark the Hole Locations
Using a tape measure or step markers, mark the locations where you want to dig the holes. For fence posts, make sure the distance between each hole is consistent to maintain a straight fence line. You can use marking paint or stakes to clearly indicate the hole locations. Taking this step ensures accurate hole placement, preventing any potential adjustments later on.
Step 3: Prepare the Post Hole Digger
Before getting to work, inspect your post hole digger to ensure it is in good working condition. Check that the handles are secure, and the digging blades are sharp. Lubricate any moving parts as needed to ensure smooth operation. A well-maintained post hole digger will make the job more efficient and prevent any unexpected issues.
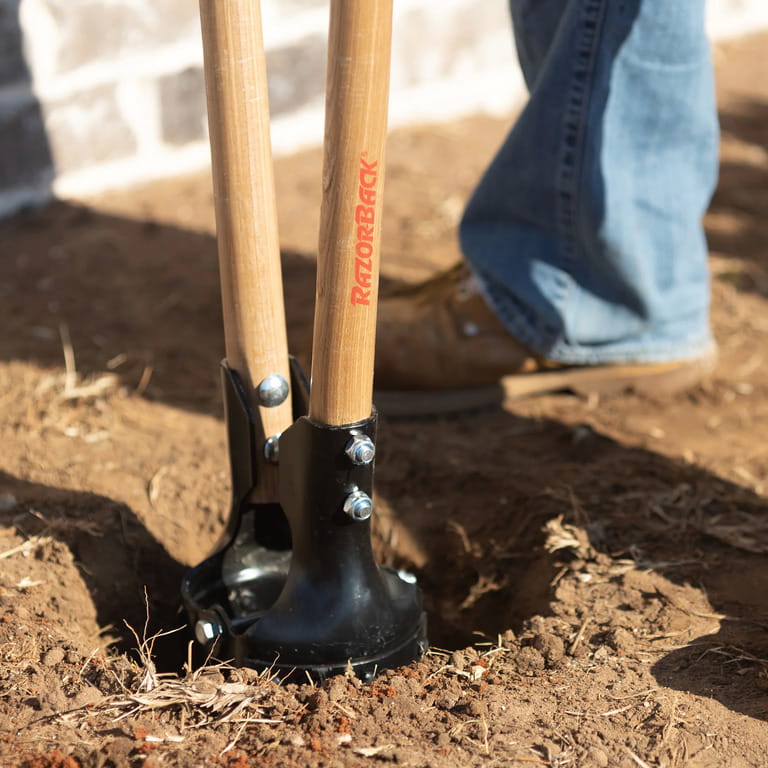
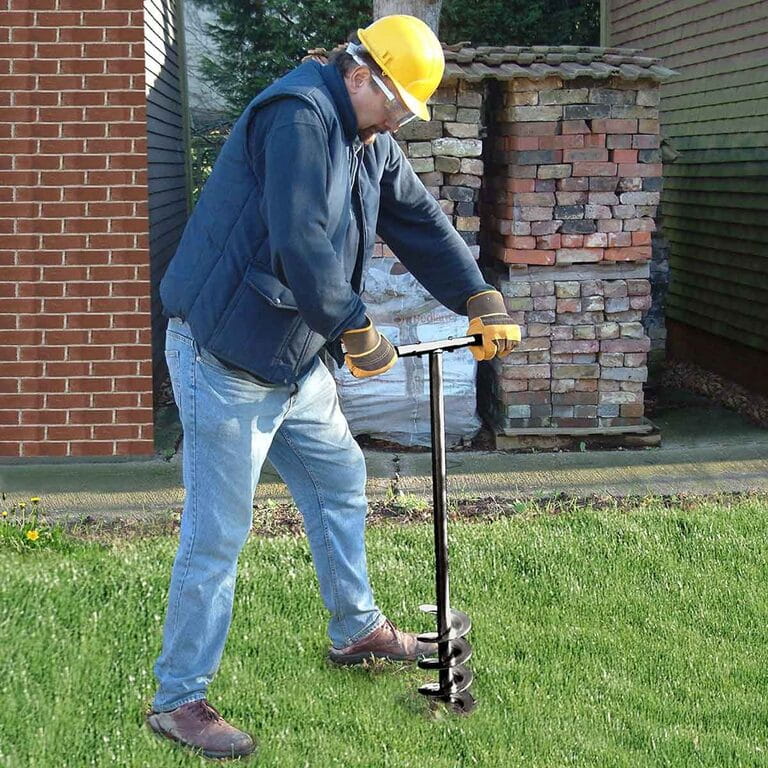
Step 4: Position the Post Hole Digger
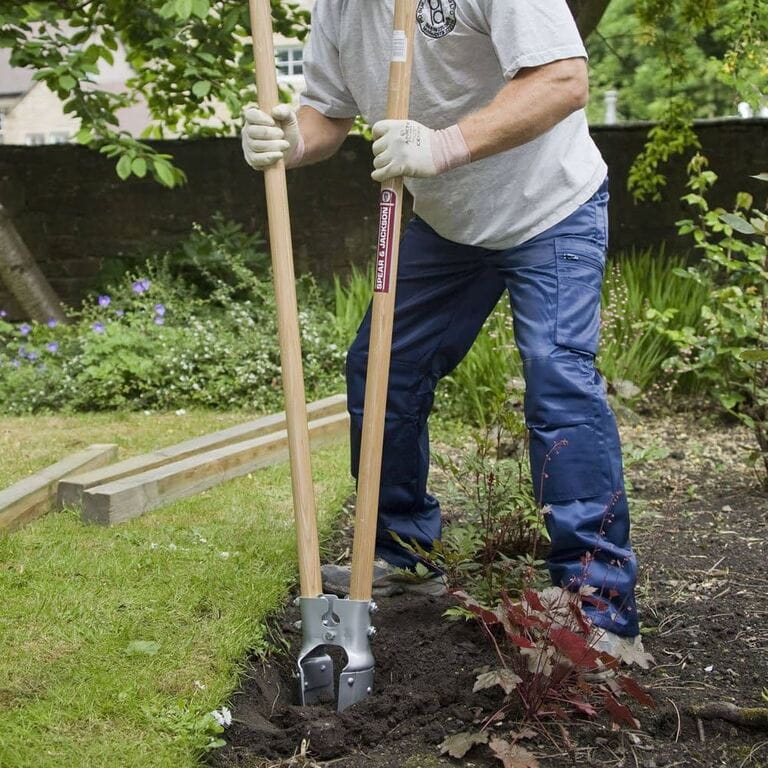
With your tools and hole locations ready, it's time to start digging. Stand facing the area where you want to dig the hole. Hold the post hole digger with both hands, placing one hand on each handle. Keep your feet shoulder-width apart to maintain balance and stability during the digging process.
Step 5: Start Digging
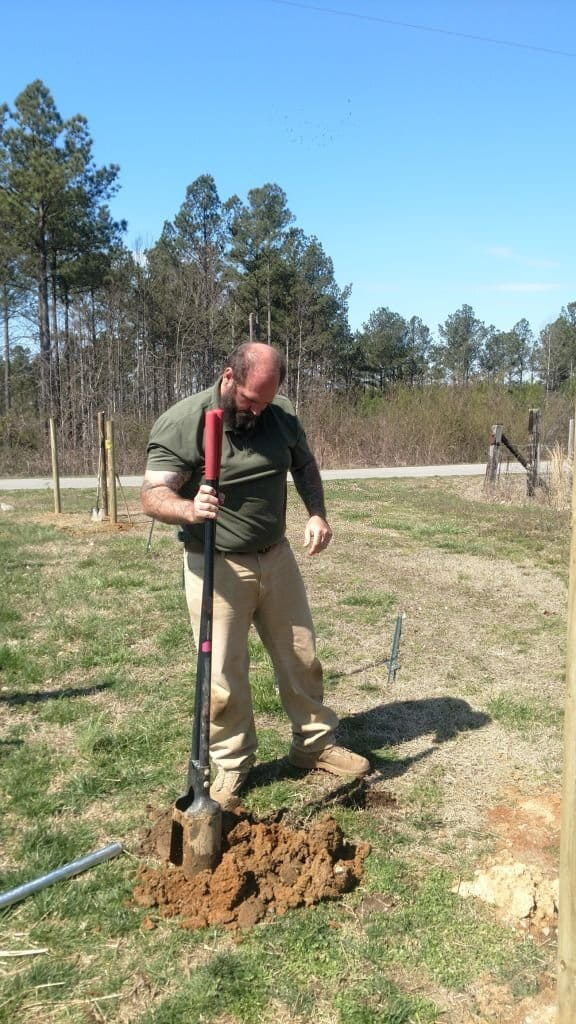
Now comes the actual digging! Insert the blades of the post hole digger into the ground at the marked hole location. Push down firmly to drive the blades into the soil. Use your body weight to help drive the digger deeper into the ground. For harder soils, you may need to use your foot to assist in pushing the blades down.
Step 6: Dig and Lift
With the blades in the ground, begin to pivot the post hole digger backward, lifting the soil out of the hole. Use your legs and arms to lift the digger, rather than straining your back. The leverage created by the design of the digger should make the lifting process more manageable. Be careful not to overload the digger with too much soil at once, as this can strain your arms and cause unnecessary fatigue.
Step 7: Continue Digging
As you lift the soil out of the hole, continue the digging process. Repeat the digging and lifting motions until you've reached the desired depth for your hole. The depth will depend on your project requirements, such as the length of the fence post or the size of the plant's root ball.
Step 8: Remove Excess Soil
If necessary, use a shovel to remove any excess soil from the hole. Ensure the bottom of the hole is level and free of debris. This step ensures that the post or plant you insert into the hole will have a stable and level foundation.
Step 9: Repeat the Process
With one hole successfully dug, it's time to move on to the next one. Repeat the digging process for each of the marked hole locations. Take your time and work methodically to ensure each hole is consistent in size and depth. This attention to detail will result in a clean and professional-looking project once completed.
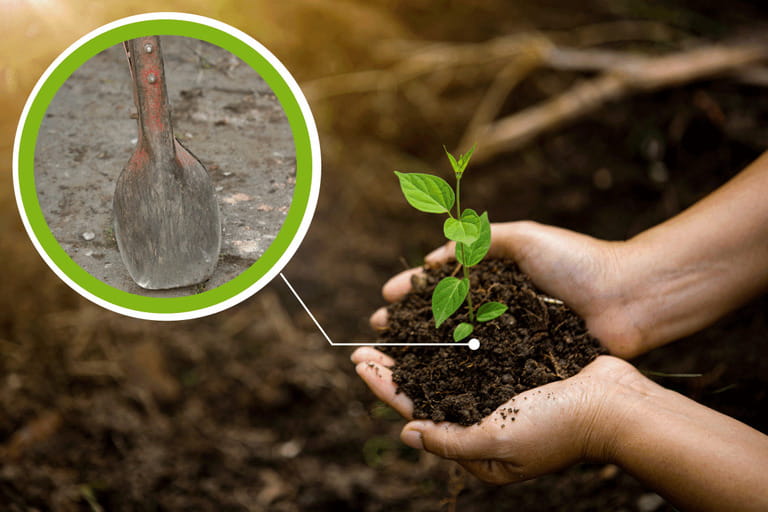
Step 10: Install Posts or Plants
With all the holes dug, you're now ready to install your fence posts, plants, or other objects. Make sure to follow the specific instructions for your project to ensure proper installation and stability. When setting posts, ensure they are straight and plumb by using a level and braces to hold them in place while the concrete sets.
Tips for Using a Post Hole Digger
Wear Safety Gear: Always wear appropriate safety gear, including gloves and safety glasses, to protect yourself while using the post hole digger. The digging process involves sharp blades and potential contact with the soil, so safety should be a top priority.
Avoid Rocky Ground: Post hole diggers are most effective in soil without large rocks or roots. If you encounter rocks or roots while digging, consider using a different digging method or breaking up the soil beforehand with a pickaxe or digging bar.
Avoid Overexertion: Digging holes can be physically demanding, especially if you have multiple holes to dig. Take breaks as needed to avoid overexertion. Hydrate yourself regularly, especially during hot weather, to stay energized and focused.
Stay Clear of Underground Utilities: Before digging, be sure to check for any underground utilities or cables in the area to avoid accidental damage. Call your local utility company or use a utility locator service to mark the locations of underground lines before you begin digging.
Backfill the Holes: After installing posts or plants, backfill the holes with the soil you removed, and tamp it down firmly to ensure stability. Properly compacting the soil around the posts or plants will prevent settling and maintain their position over time.
Conclusion
Using a post hole digger is a practical and efficient way to dig holes for various projects around your property. With proper technique and a little practice, you can achieve professional results while saving time and effort. Remember to wear appropriate safety gear, take breaks when needed, and avoid rocky or root-filled ground. Now that you're armed with this step-by-step guide and valuable tips, you're ready to tackle your next fencing or landscaping project with confidence.


