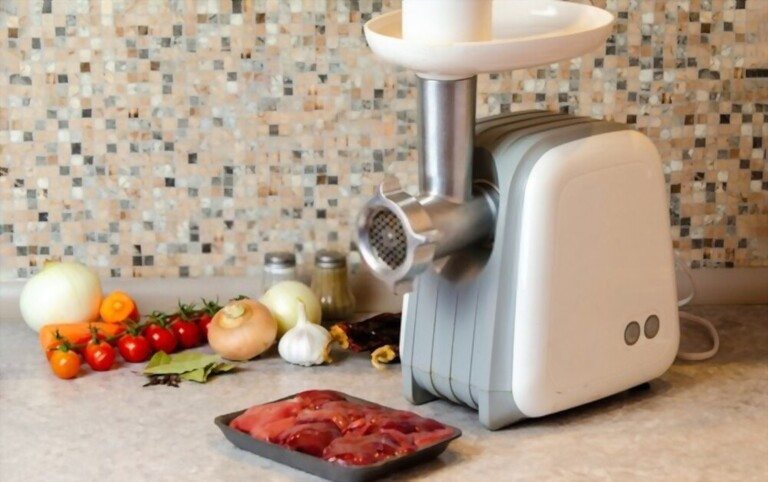
Meat grinders are convenient devices that are commonly used in establishments such as eateries, butchers, and grocery stores. They became increasingly popular as restaurant owners found that meat grinders could help cut food costs. To better understand, keep reading to find out why you should buy a meat grinder, and how to set up a Kitchenaid meat grinder.
How to set up a KitchenAid meat grinder
Prepare tools:
- Kitchen scissors
- Safe fridge bowl
- Grinder (electric or manual)
1. Considering meat
Prepare the meat by trimming off excess fat and skin to grind the main parts of the meat. This will help the blender cut the meat efficiently and keep you from getting smudged.
2. Remove the bones
Make sure to remove bones and bone fragments. Bone resection is critical to product safety and longevity.
3. Cut the meat into pieces
Be sure to cut the meat into pieces that are sized to move easily from the tray into the blender hole. If the pieces are cut too large, they can clog the grinder.
4. Prepare tools
If you're seasoning meat, leave the rest of the trimmed meat in the fridge to dry. Seasoning the meat before grinding ensures that the flavor is evenly distributed throughout the final product.
5. Chilling the meat
For good performance, grind very cold or partially frozen meat. Refrigerate for about 30 minutes depending on the size and size of your meat. If blending in bulk, refrigerate and take out small batches to blend.
The person holding a metal food blender near the stand mixer
6. Cool the blender
To maintain a cool temperature during use, chill the blender and food tray for at least 30 minutes before blending. The metal food processor can be pre-chilled in the refrigerator or freezer to maintain a cold grind temperature and to help you grind clean when preparing meat.
7. Setup grinder
- Add the grinding screw into the main housing
- Put the blade on the end of the sharpening screw. If the blade should fit completely inside the sheath. If not, pull it out, turn it over, and put it back in. Make sure the sharp side of the blade is facing out.
- Place the selected grinding plate on top of the blade so that the groove of the plate matches the tab at the bottom of the main housing.
- Put the washer on the main housing, and turn it clockwise by hand until it is fixed but not tight, how to install the meat grinder plastic step by step
- Turn off the mixer (speed '0') and unplug it. Depending on the accessory hub type, turn the hinged cover over or loosen the accessory knob by turning counterclockwise and removing the cover.
- Insert the accessory shaft housing into the accessory hub, making sure that the power shaft fits into the square hub socket.
- Rotate the attachment back and forth.
- When the attachment is in the proper position, the pin on the attachment housing fits into the groove on the hub rim.
- Tighten the attachment knob until the unit is fully fixed to the mixer.
Remove the meat grinder from the freezer or refrigerator and assemble it to grind. Once assembled, can be connected to the power outlet of any stand mixer by inserting the accessory shaft into the socket, then screwing the mixer outlet knob clockwise to secure it. grinder.
The person using a food pusher to pass the meat through a white food grinder
8. Grind the meat in small layers
Avoid overloading the grinder and clogging the disc or straining the motor. Be sure to at least clean the mold and blade before moving on to another batch.
9. Repeat the grinding process
To make the mixture softer, some meats can be ground twice. However, fatty meat should only be ground once.
10. Chill meat between grinds
Be sure to cool the ground meat between grinds. You can easily do this by grinding the meat directly into a bowl placed inside a larger stone bowl.
What is a meat grinder?
A meat grinder is composed of a hopper or tray that passes food through grinding discs to finely chop and mix ingredients. Types of meat grinders include manual blenders that operate by hand, electric blenders with internal motors, and stand mixer attachments that use the mixer's motor to power the grinding operation.
Meat grinders are used to mince and grind a variety of ingredients, whether to create spiced lamb meatballs or vegetarian favorites like falafel.
How to clean meat grinder
1. Hand wash the blender
1.1 Clean the machine before use
The meat will leave behind oil and fat as it passes through the grinder, as well as loose pieces of meat. These will dry out and scab over time, so seek to dispose of them immediately after each use.
1.2 Put the bread in the blender
Before disassembling the machine, get two or three slices of bread. Use these to absorb the oil and fat of the meat, as well as push out any debris left inside the machine.
1.3 Disassembling the grinder

First, unplug the machine if it's electric. Then break it down into parts. These components may vary by make and model, but in general, a meat grinder includes:[2]
Pusher, feeder, and hopper (usually a single unit for feeding meat into the machine).
Screw (the inner part that forces meat through the machine)
a blade
Plate or mold (a piece of metal with a hole for the meat to drain out)
Cover for blade and plate
1.4 Soaking parts
Fill the tub or bucket with warm water and add some dish detergent. Place the disassembled parts inside when full. Then leave for a quarter of an hour to remove any remaining fat, oil, or meat.
If the grinder is an electric model, do not soak any motor parts. Instead, use this time to wipe the outside of the sole with a damp cloth and then use a new cloth to dry it.
1.5 Scrub the parts
Use a sponge to clean the screw, cap, and blade. Be careful when handling the blade, as this blade is very sharp and cuts easily if handled incorrectly. Switch to the bottle brush to clean the inside of the intake manifold, hopper, and plate holes. Rinse each section with clean water when finished.
Don't rush through this process. If you want to remove all traces so as not to become a breeding ground for germs and bacteria.
1.6 Drying the parts
Wiping them with a dry towel to remove excess water. Then place them on a clean towel or wire rack to dry naturally. Avoid rust and oxidation by waiting until they are completely dry before putting the grinder away.
2. Grinder storage
2.1 Oil any metal parts
Keep the blender well lubricated and prevent rust formation during storage. Fill the spray bottle with food-grade mineral oil. Continue to spray an even layer of oil on all metal parts of the grinder (excluding the electrical part). Pay special attention to the pusher and screw, as they make the most contact with the meat.
2.2 Pack individual portions with rice
Place each part in the grinder in its sealable plastic bag. Then put a handful of rice in each bag. Rice isn't strictly necessary, but it will absorb any current and future moisture, which is a good idea if you store your components in the freezer and/or live in an area with high humidity. high humidity.
2.3 Store in the freezer
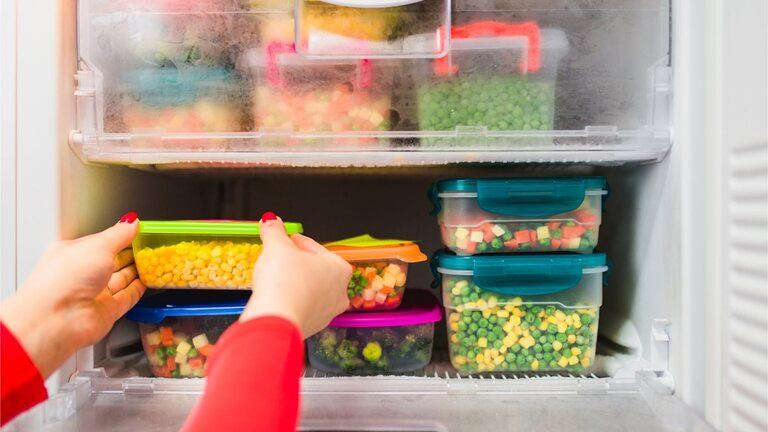
Remember that a blender works best when its parts are cool. Keep any non-electrical parts in the freezer if space is available. However, if that much space can't be reserved for long-term storage, don't worry. Please store your components in a dry place. Then you just need to put them in the freezer long enough to chill them before the next use (about an hour).
2.4 Disinfect oily parts with bleach before use
Mix one tablespoon of bleach with one gallon (3.8 L) of water. Fill the spray bottle with this solution. Then spray each metal part that you oiled before storing to make sure they are disinfected. Then rinse thoroughly with clean water to remove all traces of bleach.
Conclusion
A meat grinder is an easily accessible piece of equipment that can help many types of food service establishments save on their food costs. If you read the instructions carefully, these products are easy to use and with a few simple steps, you can start grinding beef, pork, or chicken and handling the meat. We are here to help you better understand and explain how to set up a KitchenAid meat grinder.


