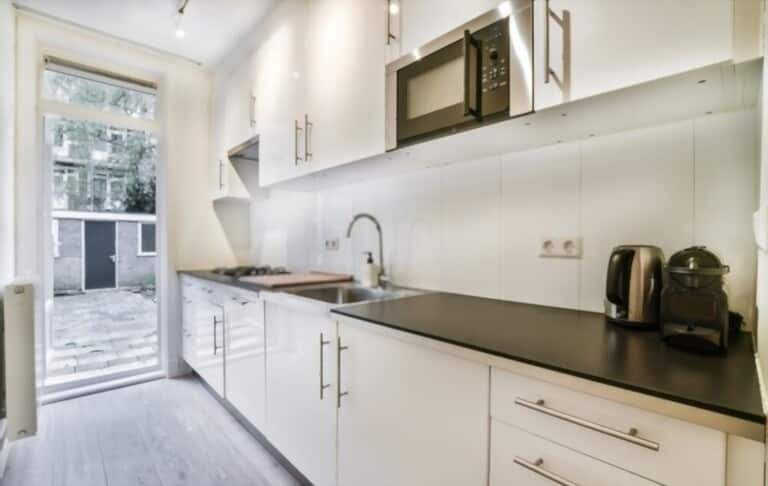
Modern kitchens are full of wonderful appliances, but all of those appliances take up a lot of counter space. Food processors, coffee makers, blenders, and knife blocks all have their uses and require certain countertop space.
In this article, we would like to share how to install a cabinet microwave in order to make your kitchen space can be achieved, a reliable appliance that is always in need, beneath a cabinet. This modification will increase your space while giving your kitchen a more upscale appearance.
How to install under cabinet microwave
Tools needed
- Mounting kit
- Powered drill
- Stud finder
- Tape measure
- Screws
- Mounting brackets
- Template
Determine Where To Put Your Microwave
Finding a location for your microwave oven installation requires measuring both the microwave as well as the cabinet. Prior to drilling any holes, it would be ideal if you were certain that it fits.
The good news is that microwaves are available in a variety of sizes, allowing you to select the one that ideally suits your cabinet. The typical microwave's measurements are roughly 24 to 30 inches wide, 17 inches high, and 15 to 18 inches deep.
Microwaves typically have an inner volume of between 1.0 and 2.2 cubic feet, with 1.2 - 1.6 cubic meters being the most popular range. Furthermore, look for holes in the top of your microwave that you may use to place it from the inside out through the cabinet and into the appliance itself.
Additionally, it is assumed that there is a grounded power source close by. As you choose where to put your microwave, think about how the cable will connect to the outlet. So, if you don't want the cord to hang or poke out, you'll probably have to drill a larger hole for it near the bottom of both the cabinets.
Utilize the Template to Locate the Studs
You will thus require a pattern at the bottom of the cabinet above the unit after selecting the suitable microwave size and location.
When placing a microwave behind a cupboard or on a shelf, templates come in very handy since they make it easier to designate the holes. Depending on the type you have, most stoves come with a ton of templates, including a wall template.
Measure your microwaves and look for a template that is the same size if you are unsure which template to use. Hole locations that correspond to the holes just at top on your microwaves are already marked on the appropriate template.
Place the template within the cupboard and arrange it so that the bottom is underneath the over-the-range microwave. To ensure that the template is even on all sides, you must position it in the middle of the cabinet.

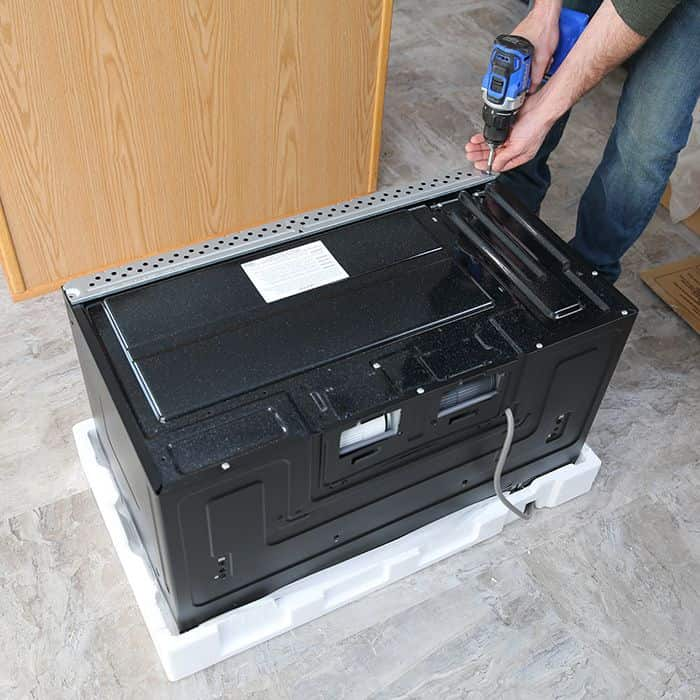
Count and drill
Measuring the space from the central bolt to the rear of the cabinet will help you mount it precisely and prevent you from drilling extra holes in your cabinet. You will then drill additional holes in the locations marked by circles on the template, following the directions on the template.
We suggest that you bring a quarter-inch drill, though using a smaller one will be useful if you have one. You can utilize the small drills to drill a little pilot hole because the quarter-inch drill occasionally tries to walk around and make a mess when users try to drill with it. After drilling the drill bits, you can remove the template by drilling through with a powerful drill.
Position The Mounting Brackets
After you've finished drilling, install the mounting holes on each side and use your screws to drill through the mounting kit and into the cabinet beneath. The bolts will protrude beneath the bottom of such a cabinet, and you will connect them to the microwaves holes on top.
Another way to put a microwave is to employ a longer mounting bracket to fasten it to the wall behind the cabinet for further support and stability. The wall studs that you will subsequently drill into must first be located with the stud finder.
Make stud placement marks with a pen or marker. Then, using 4-inch screws, you will fasten a section of plie timber to the wall and set it in place. After that, you will fasten the brackets under the plywood. the Insert the screws in into bracket to strengthen its hold after carefully gauging the holes with studs and checking your measurements.
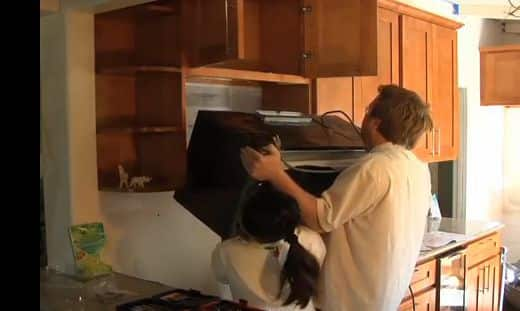
Install and secure for the microwave.
Using a skewer, fasten the four bolts into the adapters after the microwave has been set in place. It's important to fasten all four screws before you begin tightening anything. It will be more difficult to fix a loose screw if all the screws have been secured. After that, carefully turn it up while giving each screw a few further spins to tighten it up even more.
In essence, you'll keep tightening the nuts until the microwave contacts up the brackets you installed at the cabinet's top. As a warning, if you are connecting the microwave's power cord but behind the microwave, it is imperative that you have done so at this stage. If you have missed, consider the plug as well as the outlet. If you didn't, you would most likely need to take it away and start over.

When to Contact an Expert
If there is an electrical outlet nearby and a vent duct already exists that runs it through the wall or roof, installing the microwave will be rather simple. If not, you might discover that the project is complicated by the requirement to run new ductwork, establish a new electrical circuit, and run an outdoor vent. The project now moves from being on an intermediate to an advanced level. It could be advisable to hire an expert for the construction wiring, the vent job, or both if their skills are insufficient.
If significant cabinetry work is required, such as creating an above cabinet to install the stove and run the ducting and the electrical wire, that could present another potential issue. Once more, doing this transforms a simple endeavor into a complex one, and it may turn a quick task into a weekend undertaking.

Notice
- Have a helper hold the electrical wire away from the course or snake through a gap in the cabinet as you elevate the microwave for high cabinet spaces.
- If you're unsure, consult the manufacturer's instructions or get more information by calling the retailer where you bought the microwave.
- For microwaves deployed in RVs or other vehicles, proper ventilation is crucial. Use a microwave with a front vent or a kit to vent the cabinet toward the outside.
Conclusion
You will be guided through every step of this five-step procedure, from installing microwave hooks and identifying wall studs to placing your unit above the range. Plan on spending about two hours on the entire installation from beginning to end. It is advised to execute this task with two individuals for the appliance's installation and handling to go as smoothly as possible. Additionally, you will have free extra room for some other equipment and culinary utensils, which makes it quite convenient. If you possess the correct equipment, the correct mindset, and a small bit of patience, this job is not that difficult.
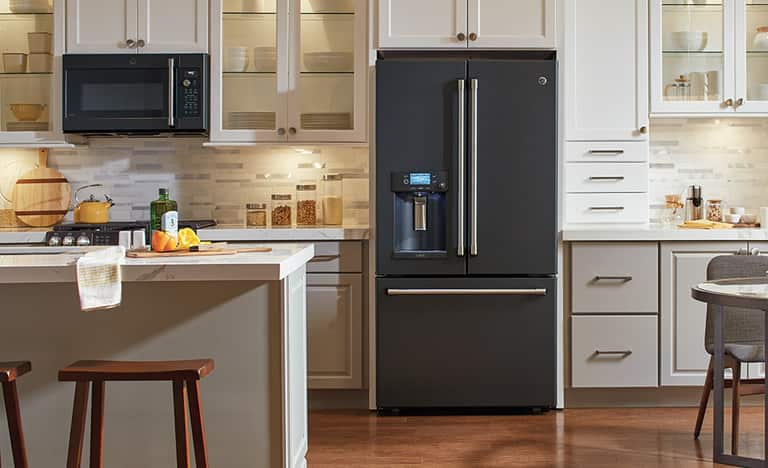
The installation of a microwave oven is a great choice if you want both convenience and style. The conventional countertop microwave is a respectable option, but an under microwave will offer your kitchen a more contemporary appearance and may raise its worth.
Not only will you get this over microwaves, but you'll also get the extremely unusual chance to claim the glory for the installation. If you are not confident enough, you could always call a professional. Additionally, if you make an error in the middle of the process that you are unable to correct, that is your cue to contact an expert.


