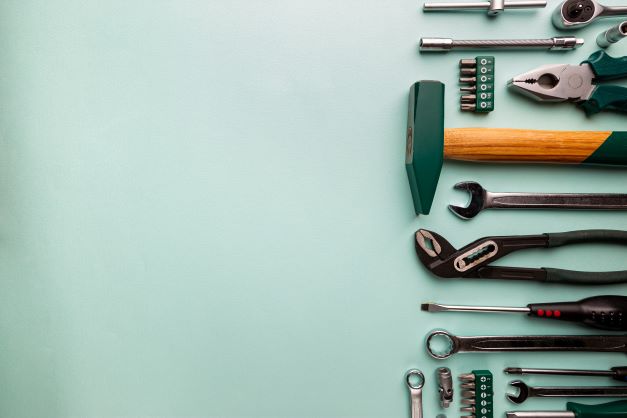
With a well-stocked tool kit, you can manage everything from minor repairs to significant home improvement jobs. You can purchase the items mentioned in this article from brick-and-mortar businesses, neighborhood home improvement stores, and internet merchants. So, upgrading your home toolkit should be relatively easy.
Making an investment to upgrade your do-it-yourself (DIY) tool kit will help you tackle basic maintenance tasks more efficiently such as assembling furniture. As new projects come along and your skills advance, you can keep expanding your collection over time. You can save plenty of money and time if you're ready to get your hands dirty. But the truth is, most people are competent enough to handle most minor maintenance tasks.
That said, here’s a list of DIY tools you should consider investing in to upgrade your at-home toolkit:
1. Buy An Impact Driver
If you’re going to have one power tool in your toolbox, let it be an impact driver. Impact drivers are all about torque. It produces high amounts of pressure along with high levels of torque. Like a regular drill, they use rotating force. So, you should be able to easily drive long, wide, massive screws into the hardest materials thanks to the torque at your disposal.
When selecting a cordless impact driver, the head length is a crucial component and advantage to consider. The shorter the head length, the better because you may need to use your impact driver occasionally in confined or tricky situations. Affordable models will have one speed. But having two or more speeds is ideal for greater finesse, speed, and torque control.
2. Buy A Screwdriver Set
Every toolset requires at least two screwdrivers: a crosshead and a flat head. Keep other sizes in the shed and select a medium-sized head for your emergency kit. For highly intricate tasks, a set of mini screwdrivers come in handy. Additionally, if storage is limited, equip yourself with a screwdriver with replaceable tips.
3. Upgrade To Parallel Pliers
Pliers have several uses, so a single pair probably isn’t enough. Instead, create a small collection of different shapes and sizes. The most common type of pliers you'll use are needle-nose pliers, though you may also need to remove huge staples or nails with hefty, grooved pliers. 8-inch long-nosed pliers are the most common, but heavier 10-inch grooved pliers are useful for removing staples and nails. For wiring and creative projects, you'll need wire-cutting pliers.
If you've been frustrated with your pliers not gripping in your DIY projects, you should upgrade to parallel pliers such as this range from Maun. The jaws close in parallel, which gives them an even grip on an item, compared to scissor-action pliers that pinch on a small area.
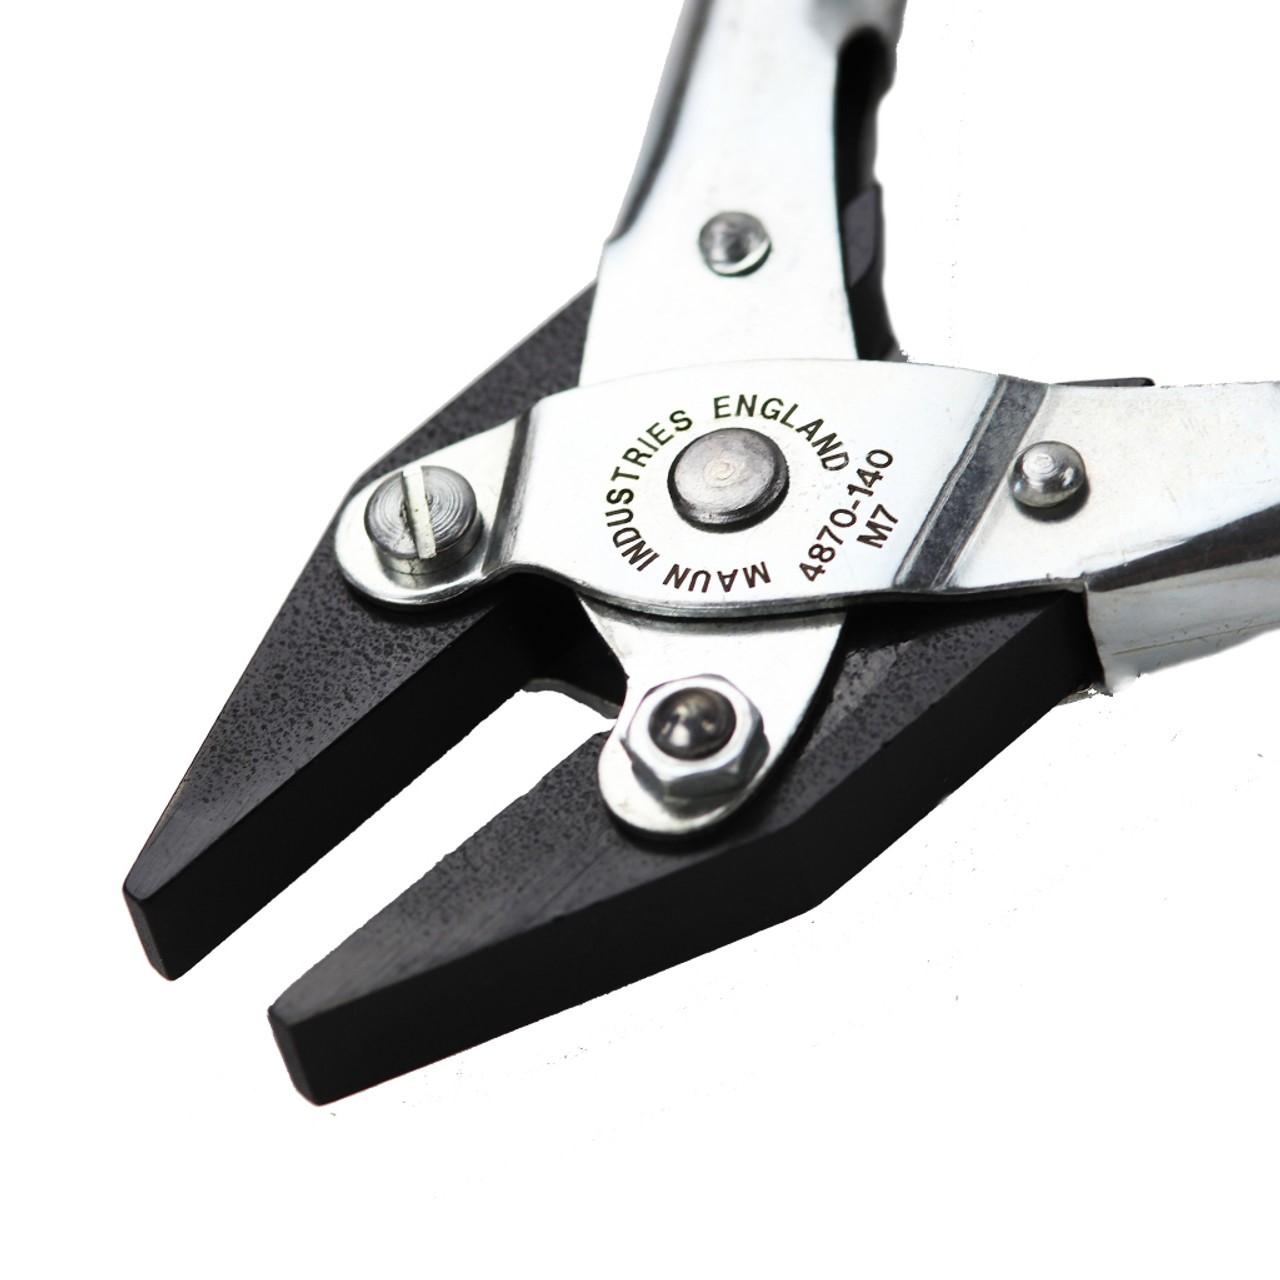
Parallel Pliers from Maun
4. Acquire A High-quality Utility Knife
You'll frequently use this tool to shave wood, sharpen pencils, open boxes, and mark mortises. Therefore, a pleasant ergonomic grip and a strong locking blade are worth the extra money.
Utility knives' efficacy doesn't seem to vary all that much, but having a replaceable blade is considerably more important. A high-quality utility knife folds and locks securely and has a durable finish that lasts many years. Alternatively, you could opt for a retractable knife for cutting and slicing through most domestic items. You can flick it open and shut with only one hand. Pick a style that enables the handle to be used as storage for extra blades.
5. Add Quality Blue Painter’s Tape
This tape masks off areas you don't want to be painted. It resembles basic masking tape and comes in a variety of widths. But this unique tape can be peeled off most surfaces without leaving any traces.
Besides painting, it can be used for various home tasks. For example, you can mark the stud locations with a little square when hanging a picture. To protect floors from getting scuffed and dirty when moving stuff, tape down runners of heavy kraft paper. You may also tape the edges of door frames when painting a wall.
6. Have A Leveling Tool
It's crucial to get a level for precise positioning. A quality, durable level will last forever. A level would be necessary to correctly mount towel bars, adjust photos, drill holes in level lines, and check countertop alignment.
The spirit level is the basic of these tools, and it’d be best to own one. It uses a bubble in a vial to indicate level and plumb. Laser levels that produce lines onto a surface are at the high-tech end. A laser level, which projects straight lines directly into walls, might be helpful, depending on the size of your DIY project. However, while laser tools would be excellent for layout, it’s difficult to physically verify an object's position with them because of their feeble lines. You'll need a level having a bubble vial for that.
7. Upgrade To An Adjustable Wrench
You can use an adjustable wrench to loosen and tighten a bolt or a nut. It has an adjustable jaw, the portion where the bolt or nut fits. The adjustable wrench is operated by rotating a screw, often found at the head’s bottom.
It’s quite versatile because it could be used on larger nut sizes than a regular wrench. By giving you the ability to alter the jaw opening width on the fly to fit around various sizes of fasteners, the adjustable wrench saves you the trouble and extra weight of carrying a complete spanner set around with you. You can use it when working on your automobile or bicycle or performing some plumbing.
8. Add A Metal Tape Measure
A tape measure is a must-have DIY tool. Plus, it’s inexpensive compared to other tools on this list. Although you might already have one made of cloth, a metal one would provide a much more precise measurement. Keep a smaller metal one in your bag when shopping for furniture or other items. For most jobs, a 25-meter-long one should work perfectly. Select one with a minimum width of 2.5 cm to prevent collapse when stretched out past a meter.
9. Purchase A Hammer
A claw-style hammer will work fine for most DIY projects around the house. You can use it as a lever to pry wood apart, drive nails into wood, and remove nails. This is quite useful when working on pallet projects for your house or yard. Choose a hammer that fits your hand comfortably and is the right weight and size. Misuse could result in the striking face chipping, potentially resulting in a serious injury. Use a hammer with a cushioned handle to protect from vibration and impact pressure.
Conclusion
Ideally, every homeowner should have a toolbox since they can handle the majority of small repairs or concerns on their own. Additionally, it has been a lot easier to perform DIY maintenance tasks with the help of online DIY videos, podcasts, and blogs. You should therefore have a set of proper tools at home.
The above list contains most of the essential tools you’ll need. Every homeowner’s toolkit will probably look different because their needs are different. Equip yourself with these. You can use this as a reference and add or remove tools in your toolkit as you see fit.


