Range hoods use an inbuilt fan and filter to exhaust heat and smoke out from the stove. Although they can be purchased independently, range hoods are often purchased with a stove. While it is typical for large equipment to be placed by professionals, the correct equipment can be used to connect your kitchen hood without help. Follow these instructions to know how to install under the cabinet range hood.
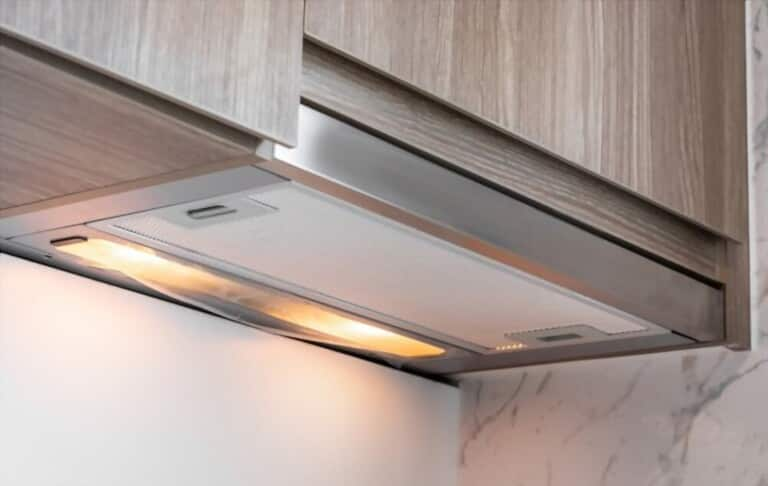
How to install under cabinet range hood
Tools needed
- Screwdriver
- Non-contact circuit tester
- Power drill
- Pencil or Marker
- Tape measure
- Wire stripper
- Level
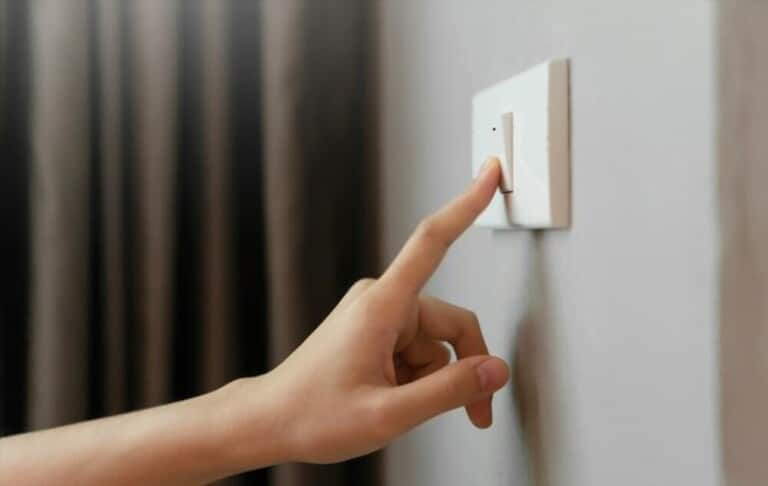
Cut off the power source
During the installation, make sure the breaker for both the area you'll be working on is off. Because you'll be dealing with wires and circuitry, you must turn off the power source to protect yourself. Before beginning to work, check the wires using your circuit tester.
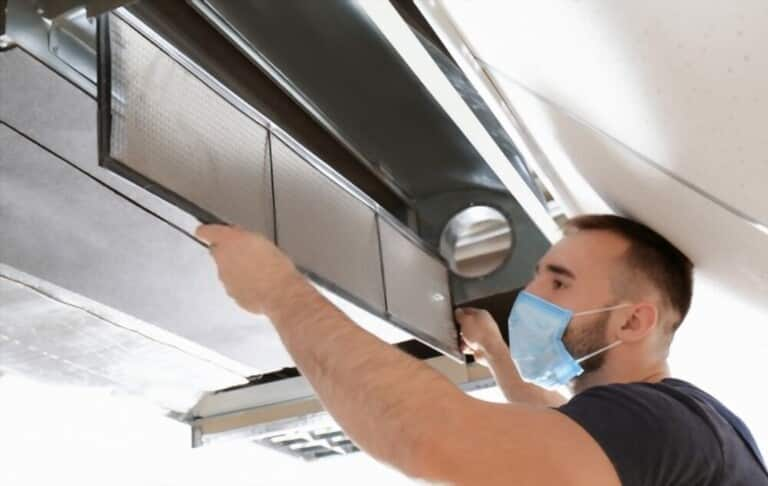
Take Off the Old Range Hood
You must first remove the old kitchen hood before installing the new one. To disconnect the cables, unscrew the wire nuts. As you remove the screws holding the range in position, have a helper steady it. Lift your old range hood out after removing the screws.
Examine any existing ducting
Make that the new set hood is suitable for the existing ducting before installing a ductless range hood if there is already ductwork in place. The majority of under-cabinet range hoods employ ducting that ascends through the cabinets before exiting, however others will exit through the wall directly. Identify the type of ducting you currently have in advance to ensure that your new collection hood can connect to it.
Create marks and drill screw holes
Once you have found the ideal location for your intended under cabinet ducted range hood installation, grab a pencil and draw the holes with it before drilling them with a power tool for the screw.
Use the sheet template that the manufacturer supplies for this scene. By using it, you can indicate where to make the holes on every side for the cabinet's screws. Additionally, use a saw to cut a 2-inch-diameter hole in the center of the wood board.
Puncturing Cabinet board with Holes
Making Hole on Cabinet Board: Your cupboard or range hood will determine where to drill and how deep to go. To ensure enough strength, add more pieces of wood to the other side if the corrugated or wood board in the cabinet is unstable. The screws and supports put in this hole will support the range hood while it hangs there.
Bracket installation (if it is required)
If you want to put your under black range hood only with a wall and the range hood manufacturer permits it, then screw the bracket to the wall as indicated above.
Circuit breakers for the source of power are set
Some range hoods provide a straightforward plug-in option. To other step if you've had a hood such as this, go right ahead.
However, if the range hood was hardwired, you must set up a 110 volt circuit. For this, you might make use of the current circuit. As a result, you must make sure that 110 volts are provided with the proper power. If you're not confident with construction wiring, you should consult a licensed electrician.
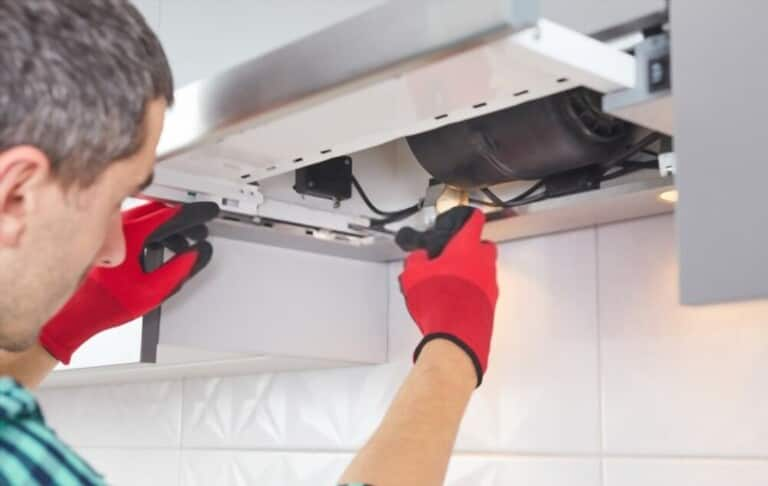
Establish a connection from wire to wire
After doing the circuit work, shut off the power to the circuit breakers and verify with the non-contact circuits tester. After that, you may start connecting the wires.
Three wires that are the same kind or color are visible here, on both surfaces (range hood and circuit). After that, use a wire stripper to remove a half-inch of coating from each wire's ends. After removing the cable cover, join the white wire to a white, and black wire to the black, as well as the green wire to the green wire. Then, use wire nuts to seal the connections. The wires should then be secured in-between the electrical boxes.
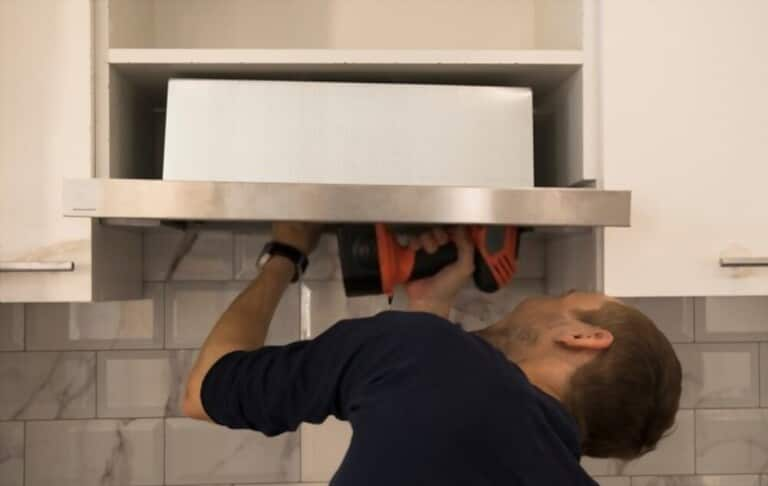
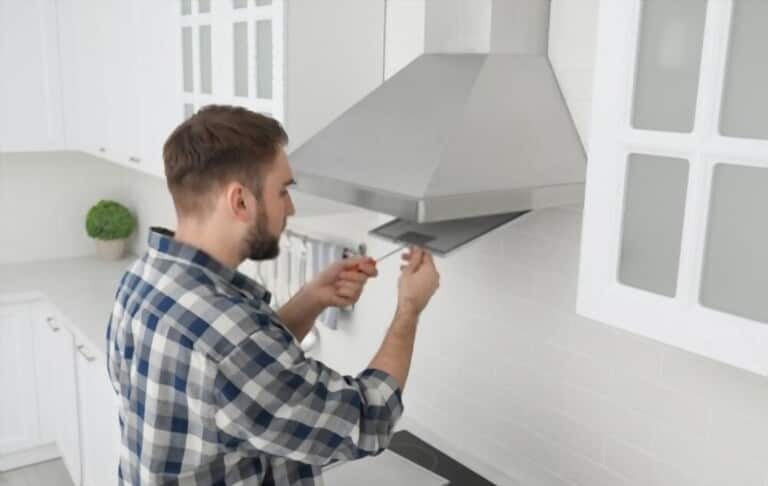
Range Hood Mount to Wall
You are now prepared to attach the hood. The majority of hoods will also have a template for this. According to the pattern, mark the locations for the mounting screws. Before drilling, you might want to make a few tiny holes if you're installing a tile wall to prevent breaking the tile. Make sure the cabinets, if you're mounting them, are solid enough to prevent the screws from coming out once the range hood is installed. You may wish to add some strengthening blocks to the thin cabinets so you have something to screw your screws into. Drill the holes for the bolts using the appropriate-sized drill bit.
After that, drill the screws into position by switching the drill bit for a screw tip. Once the bolts are in place, verify that the vent hole is aligned. Adjust as needed.
Place the hood in position and join the wires. In addition to the ground wire in the socket that goes to the grounding screw on the hood, there will also be wires to charge the fan and light on the hood. It's easy to connect the wires; just attach the black cables from the hood to a wall's black wires, then do the same thing with the white cables. You can, however, engage an electrician for this part if you're unsure about performing electrical work.
Connect to the power grid
Connect the ductless under gray cabinets and shelves to the electrical outlet once the cable is in place and the stainless steel hood is mounted. Next, make sure the Range Hood's fan and lights are functioning properly.
If indeed the range hood also isn't operating, check the circuit once more and look for any interior wire connections that are incorrect.
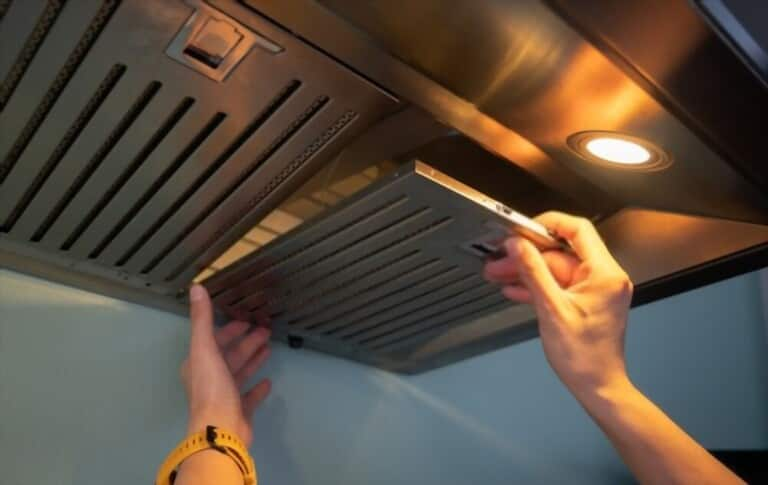
Put the charcoal filters in place
Installing charcoal filters completes the under cabinet ductless vent hood installation process. The essential component that will make your drip pan ductless is these charcoal filters. It removes the harmful odors, grease, and emissions from your kitchen.
So, switch on the greasy guard and insert the charcoal or carbon filters. Refasten the range hood cover after that. You can construct an input jack on the opposing wall to protect all the lines.
When everything is finished, turn up your range hood again from the control center to enjoy the fresh air. You may now successfully install an under-cabinet ductless range hood on your own.
Notice before start
- Unpack the modern under-cabinet ductless range hood and then become familiar with all of the attachments provided by the manufacturer before beginning the setup process.
- Then check that your kitchen cabinet has the appropriate space for the new range hood.
- The under-cabinet ductless range hood also needs to be fitted between 28 and 32 inches beyond your stove. Make sure there will be enough room for it.
- A wooden board should be placed over your cooktop to keep screws and other things out of the stove.
- It's a good idea to adhere to the installation as well as other instructions recommended by the manufacturer's handbook before starting work.
Conclusion
It's a wise decision to place a range hood for your kitchen because it will filter oil from the air and prevent it from settling on your counters, cabinets, or table. To avoid paying a professional installer's hourly rate, ductless range hoods can be installed by skilled do-it-yourselfers. If you must install a brand-new ducted range hood installation, this isn't a good option.
Remember that just because you can add a range hood doesn't guarantee you can also build a network of connected vents on the outside of your house without harming the brickwork or opening up potential entry points for pests you don't want. Before determining whether to take on this project yourself or engage a contractor to finish it, thoroughly consider the specifics and processes involved.


